Get API credentials
Obtain your API credentials by creating an account first. Once logged into the Dashboard, purchase a free trial or subscription (find more information about pricing here). Then navigate to the API Playground to retrieve your API Token or Username and Password.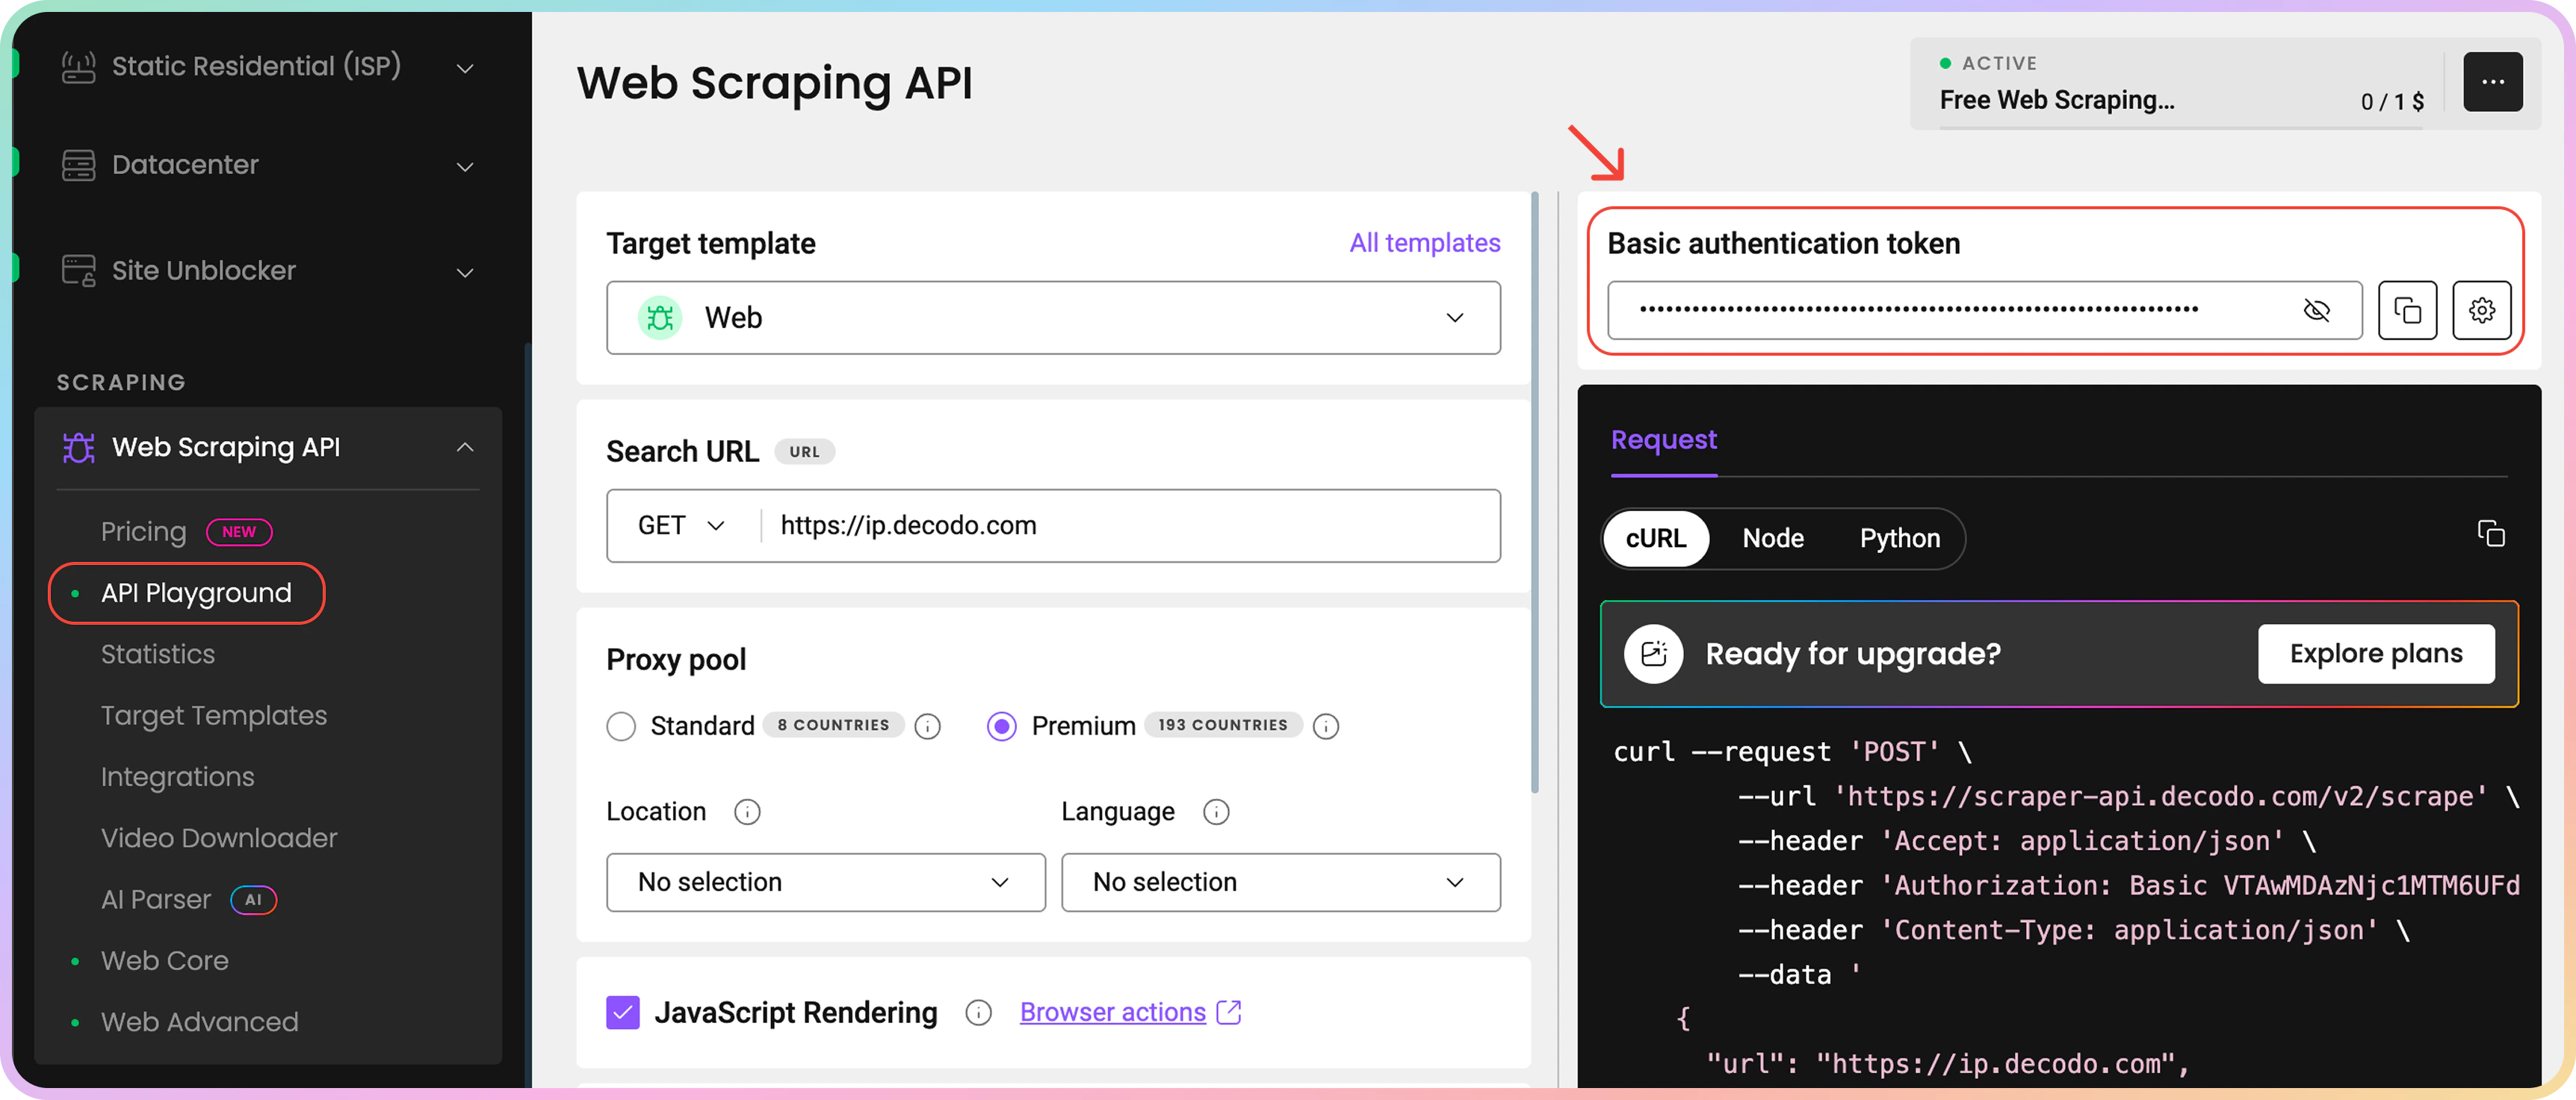
First Request
Test your setup with a simple request:Find out more
Our API offers many features that might interest you. Here are a few main topics. Three integration types are supported:- Synchronous (real-time) requests, read more here.
- Asynchronous requests, read more here.
- Batch requests, read more here.
Support
Need help or just want to say hello? Our support is available 24/7.
You can also reach us anytime via email at support@decodo.com.
You can also reach us anytime via email at support@decodo.com.
Feedback
Can’t find what you’re looking for? Request an article!
Have feedback? Share your thoughts on how we can improve.
Have feedback? Share your thoughts on how we can improve.