Getting Started
Before proceeding, ensure you have:- No other VPN or proxy active.
- The proxy endpoint and port (e.g.,
us.decodo.com:10101). - Your proxy username and password (or a whitelisted IP set).
Proxy Setup
1
To start, you’ll need to download the application and create an account, which you can do here.
2
Open the VMLogin application.
3
In the main menu on the left, click the New browser profile button to enter the setup page.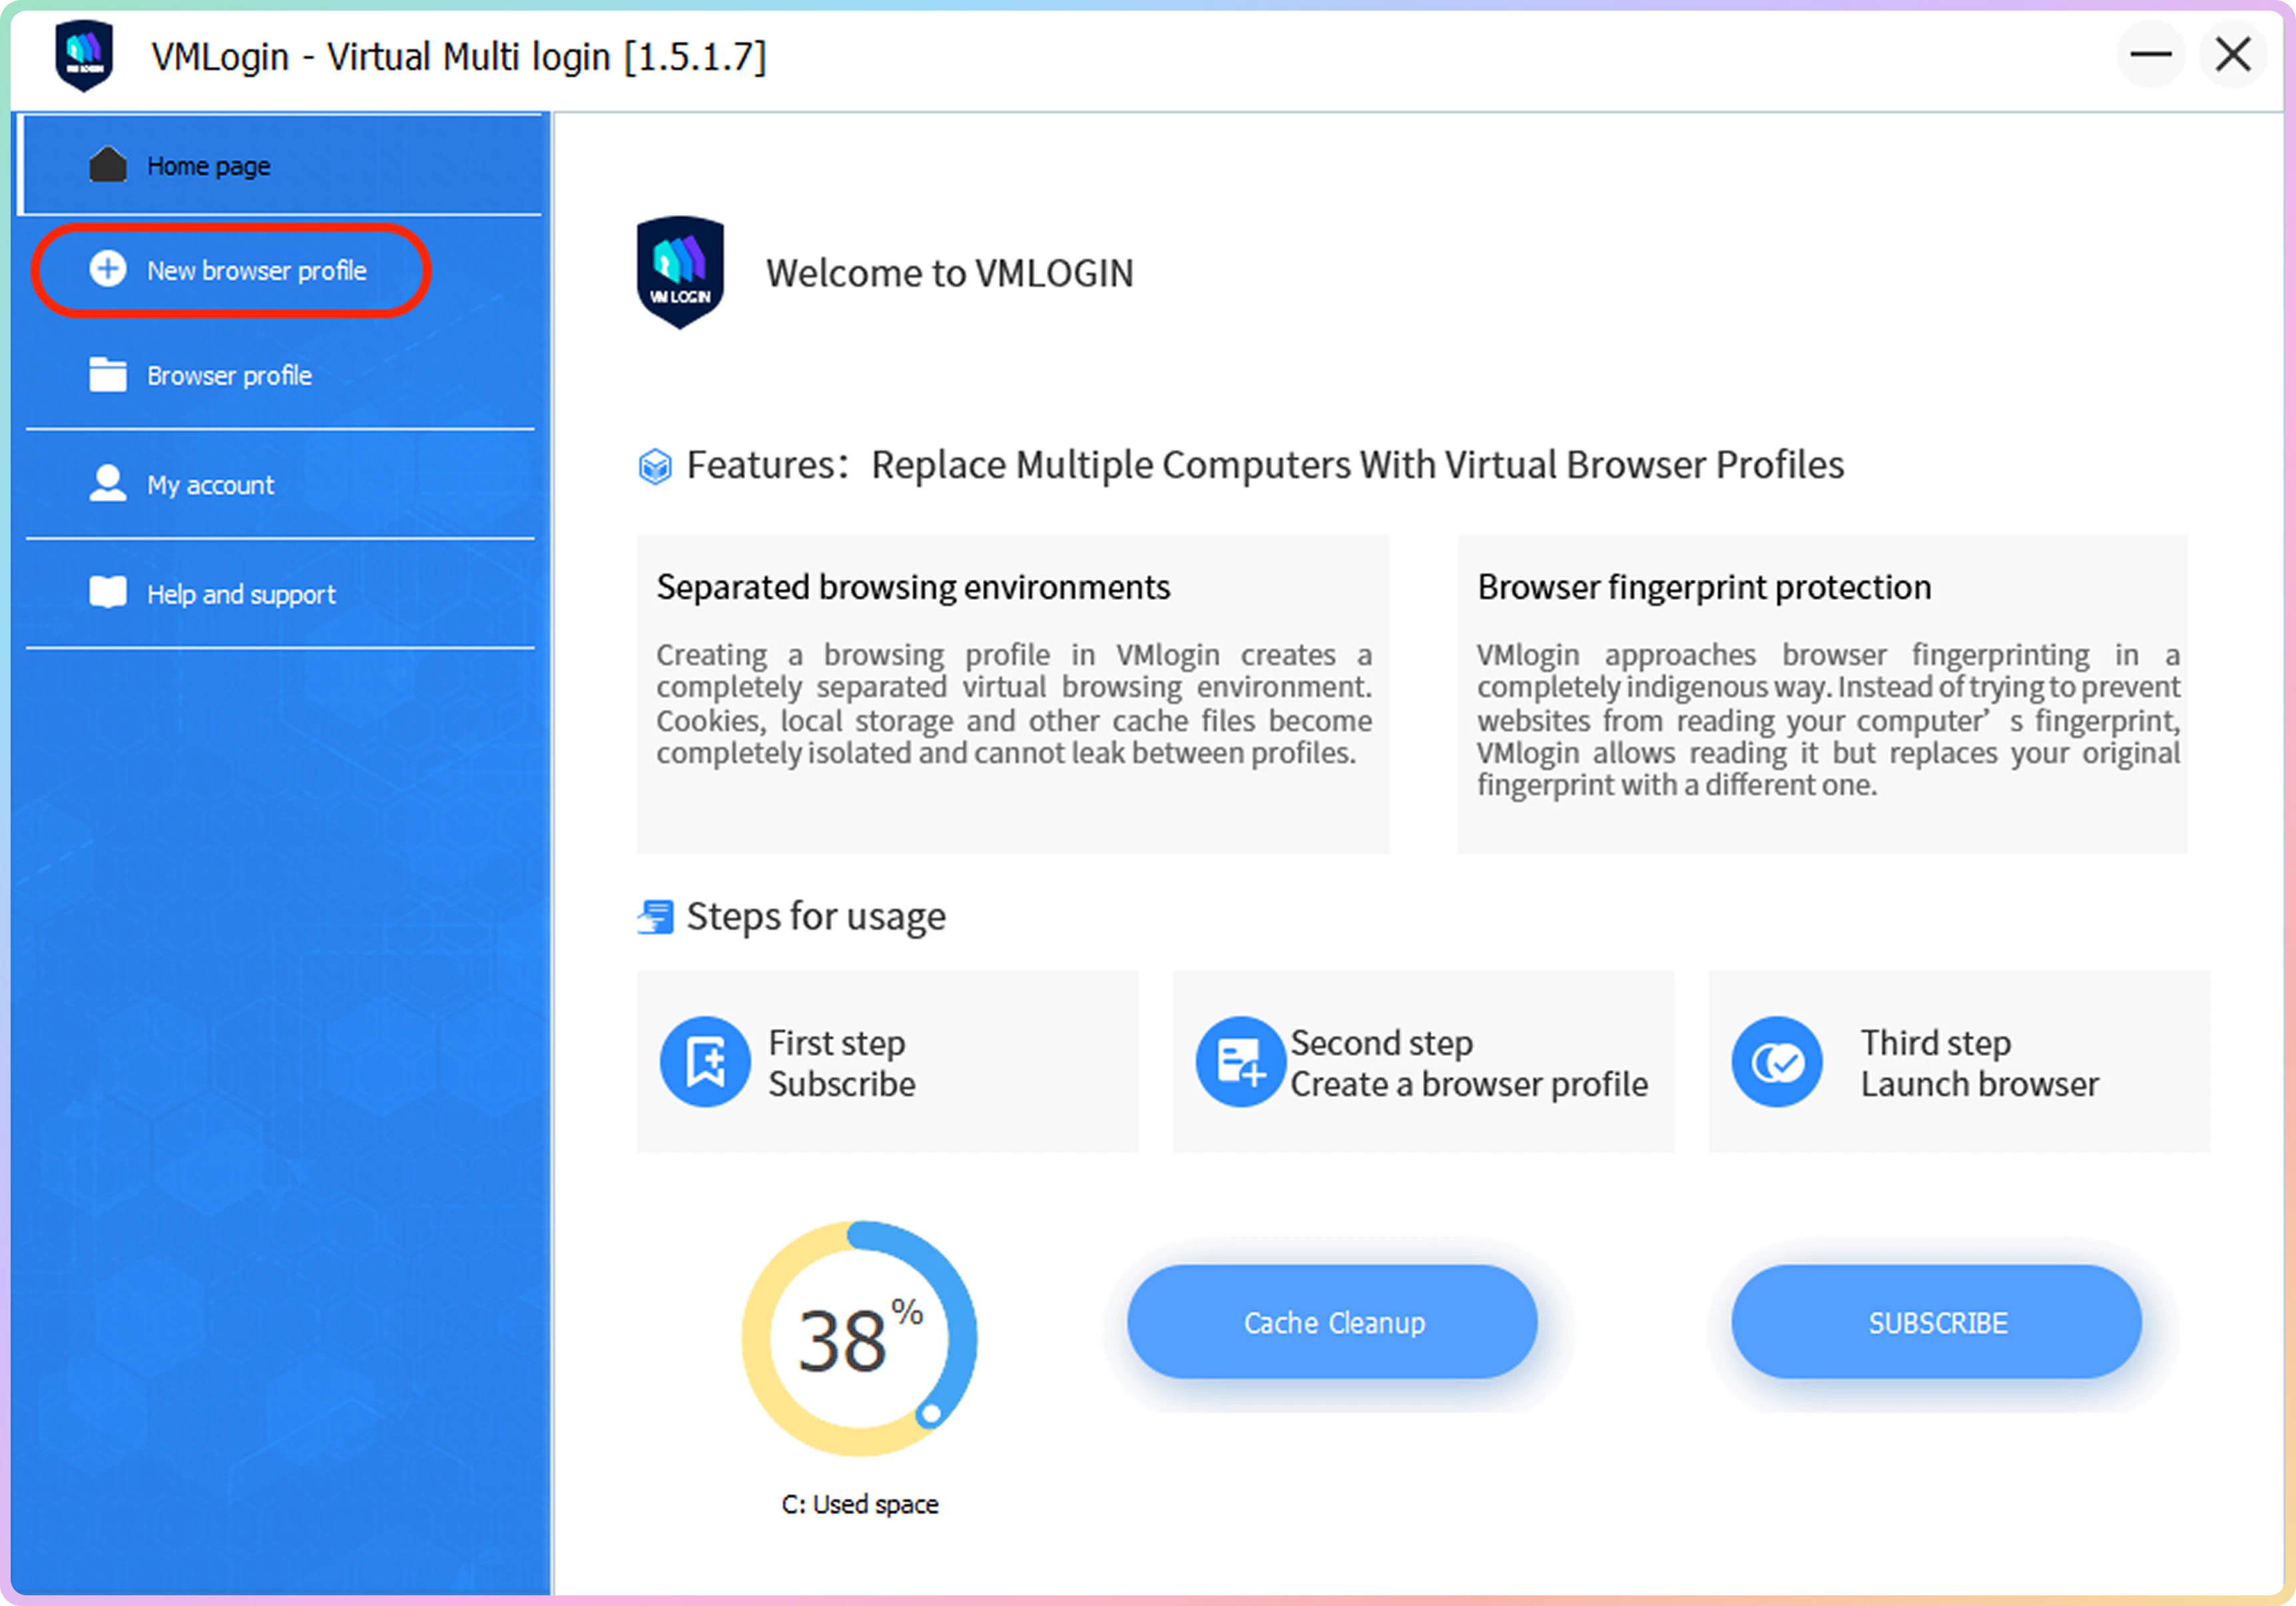
4
First, enter a name for the browser profile in the Display name field and then click the Setting proxy server button.
5
Select the HTTP proxy in the drop-down menu and then input the proxy details, which can be found on your Decodo dashboard. Here’s an example for residential proxies: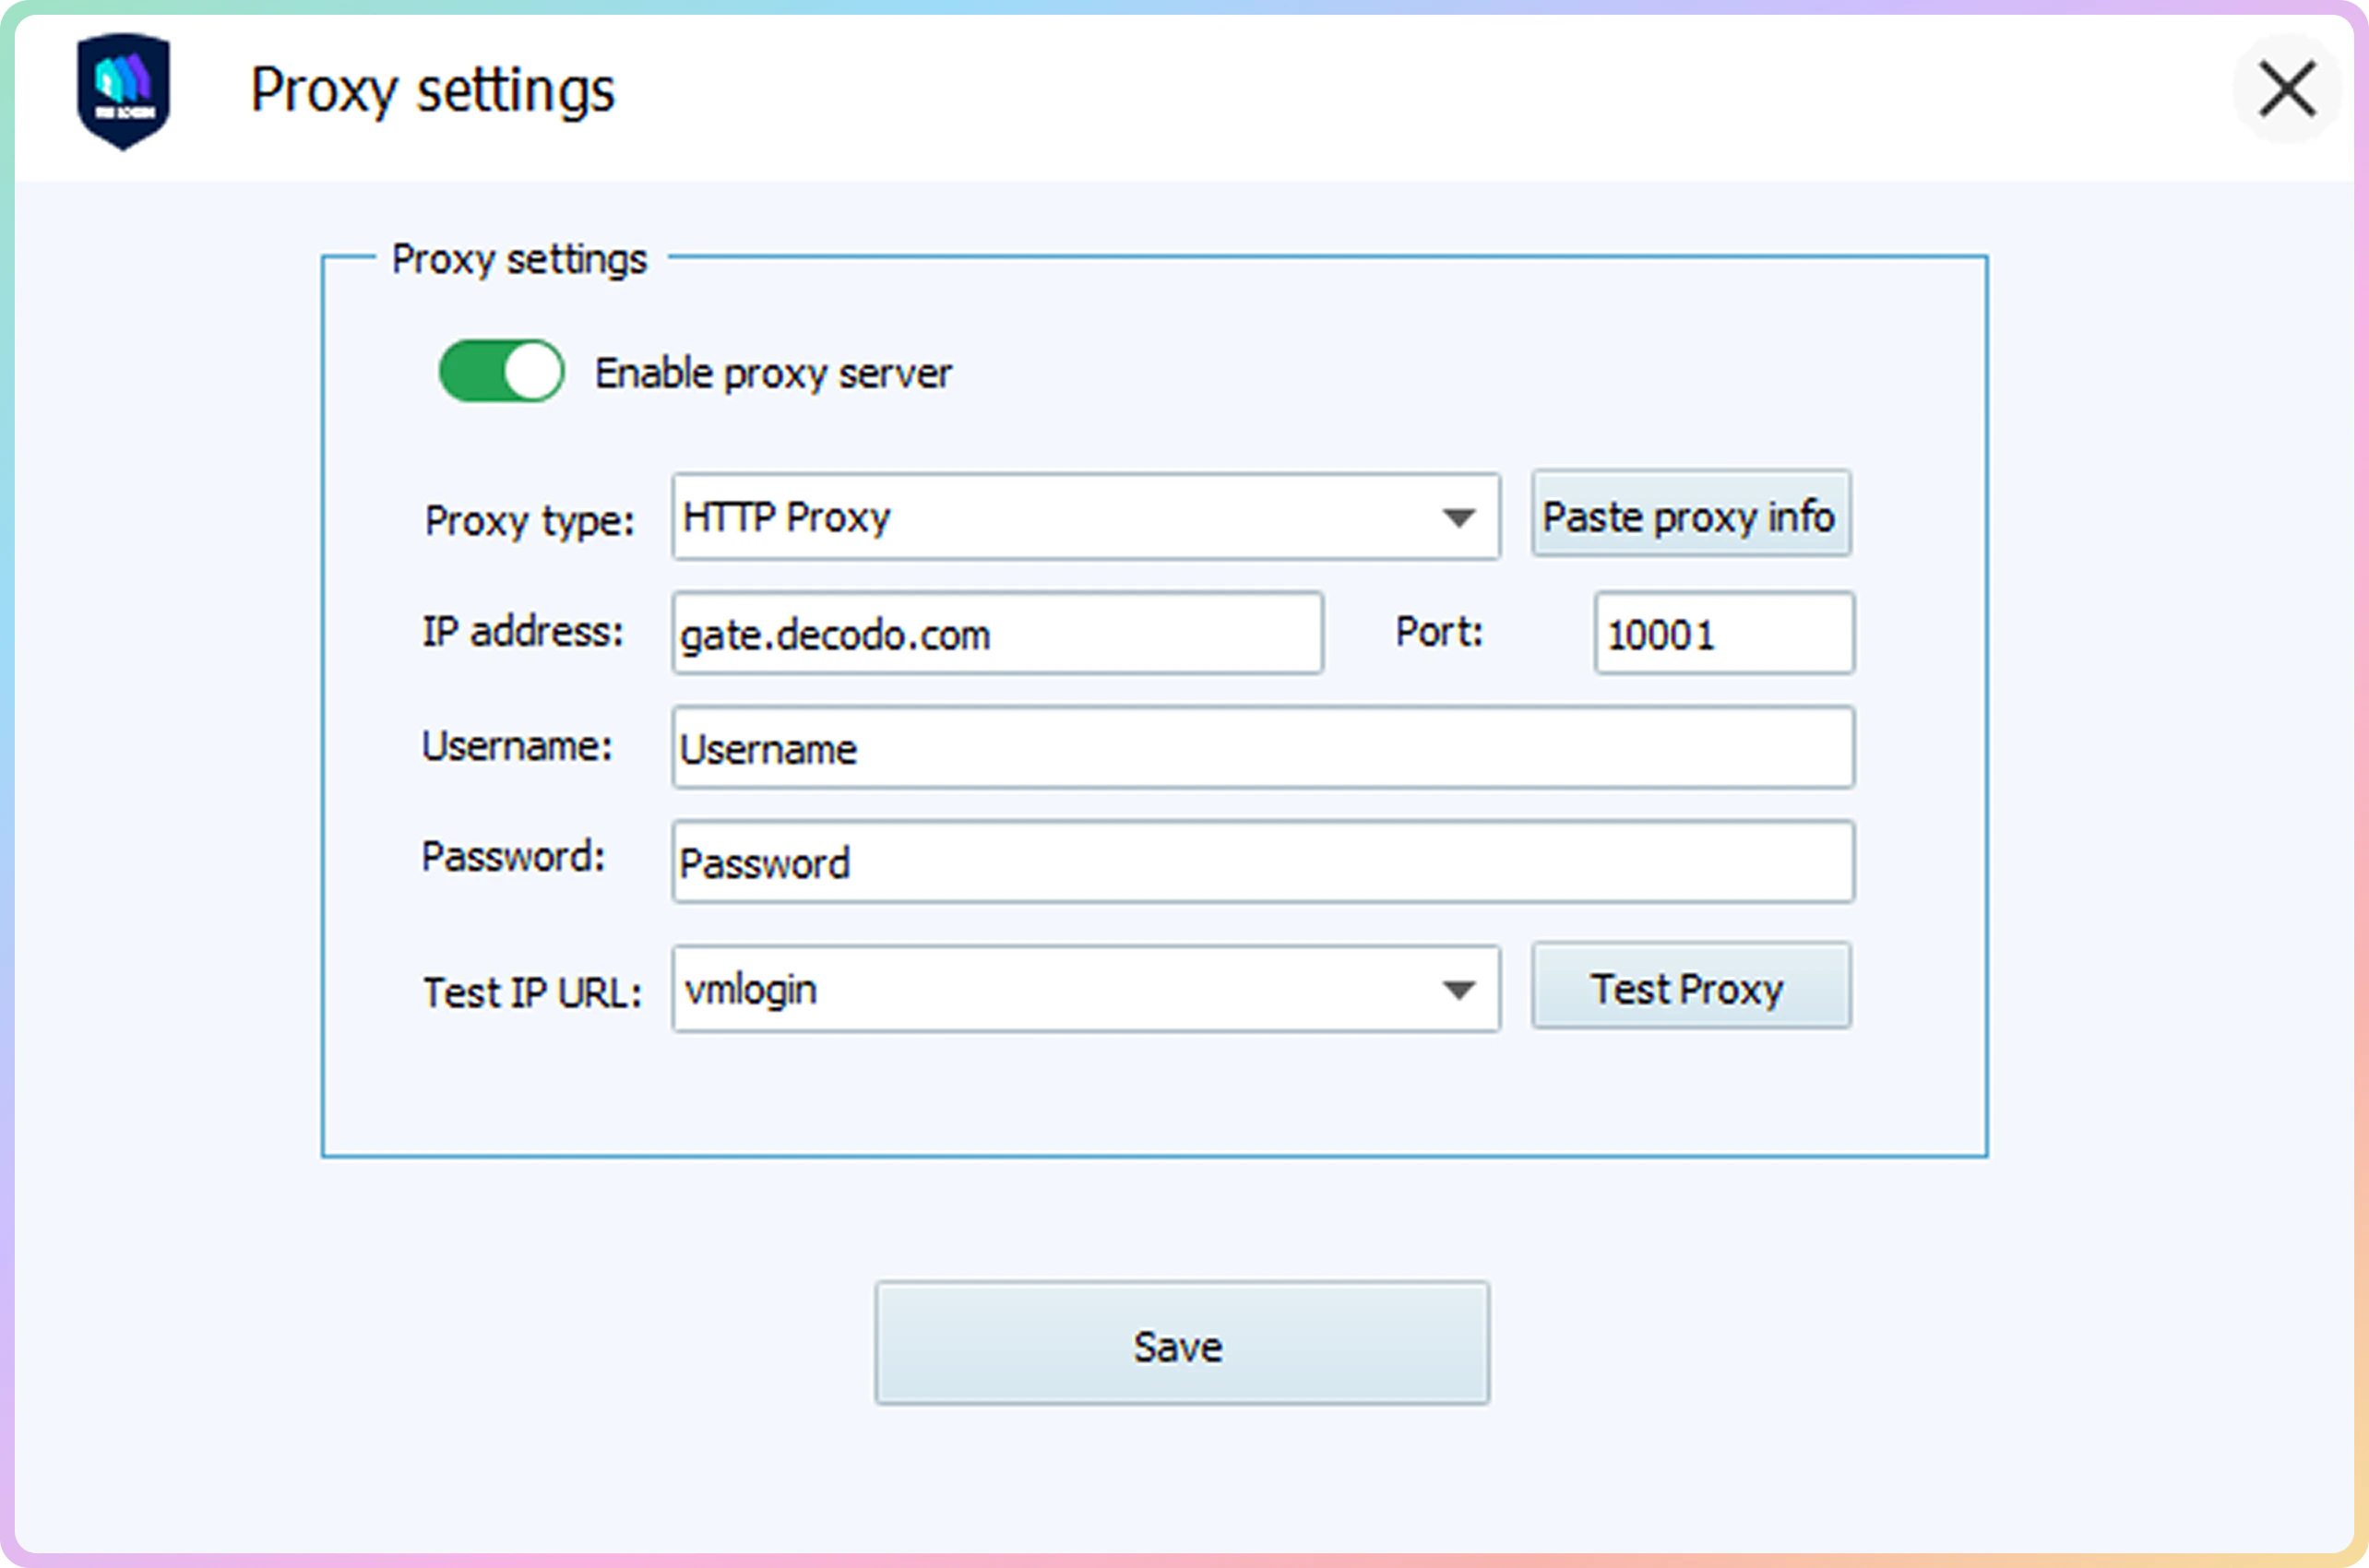
- IP address:
gate.decodo.com - Port:
10001 - Username: Input your
proxy username - Password: Input your
proxy password
6
Click Test Proxy to test the connection. If it displays detailed IP information, you’re good to go. Simply click Confirm. To finalize the proxy setup, click Save.
7
After you’ve set up all your preferences on the setup page, save the browser profile with the Save profile button.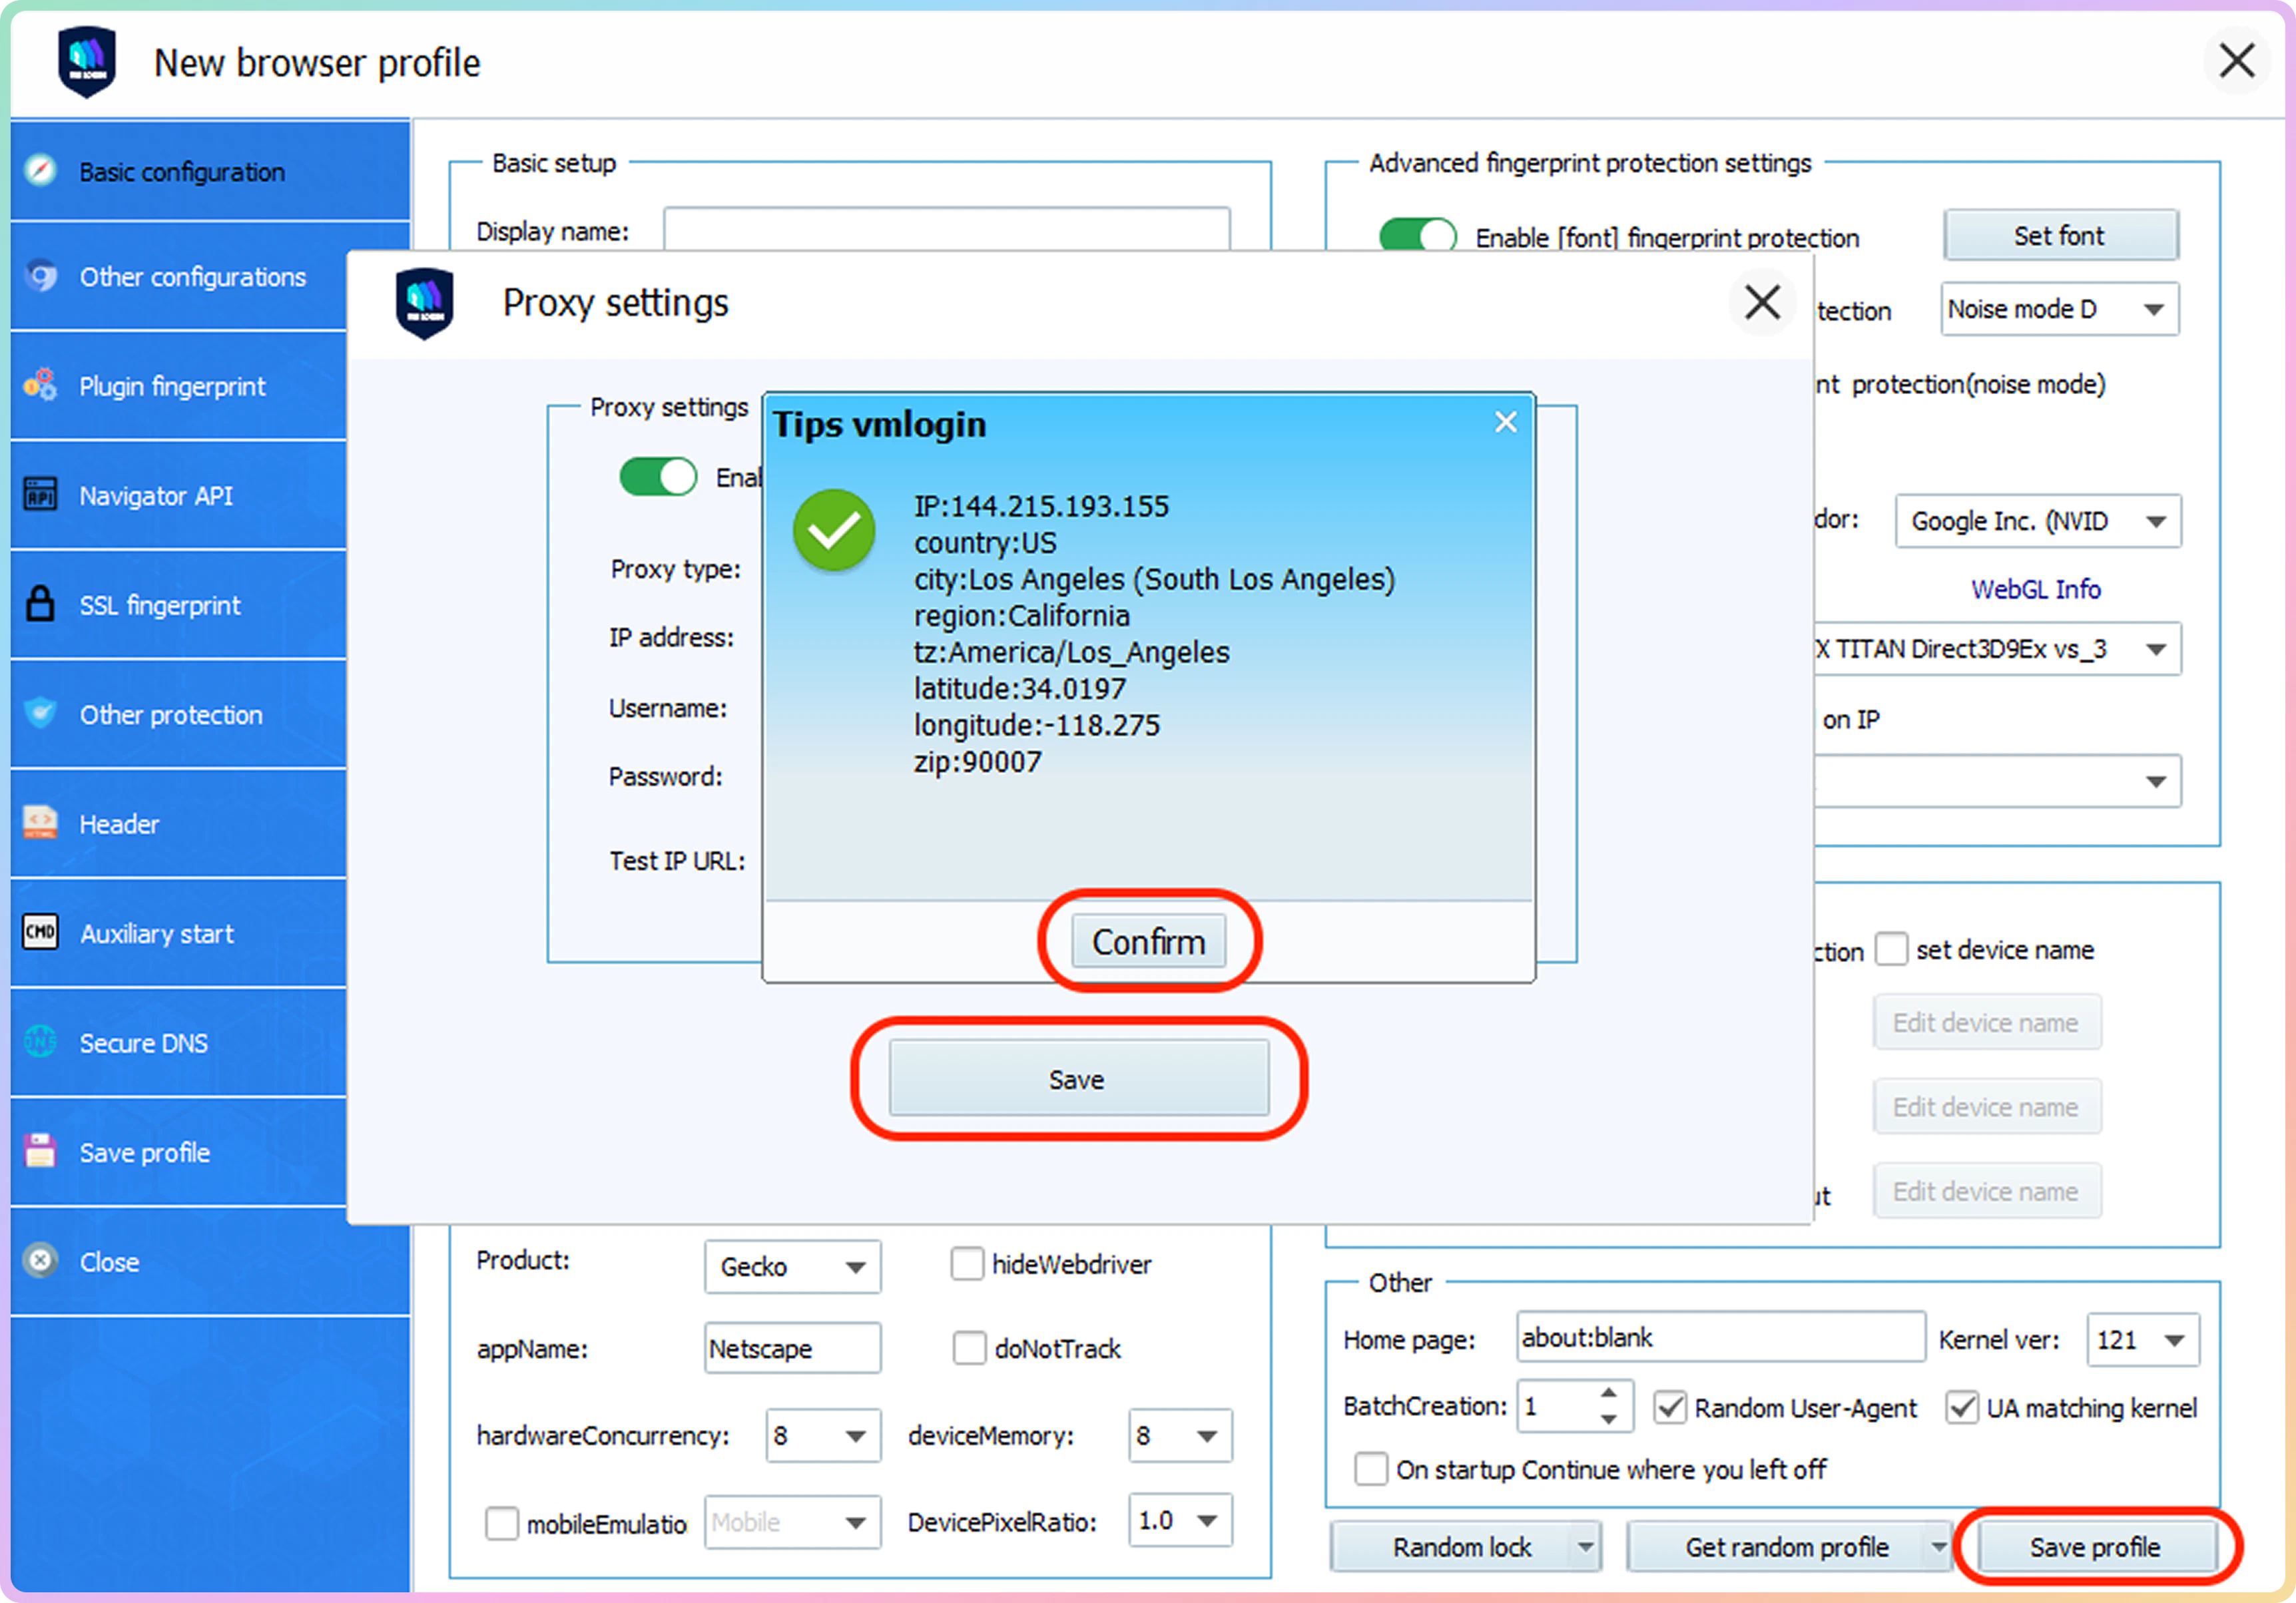
Verify the Connection
- Visit ip.decodo.com. If successful, your IP address will display the location of the proxy.
Common Issues
Blocklist
⚠️ Please be aware that we restrict access to some websites.SOCKS5
Residential and Mobile Proxy Support Limitations
Country Targeting
Country Targeting
The
gate.decodo.com endpoint and the 7000 port must be used to utilize SOCKS5 Residential or Mobile proxies. Country endpoints, such as us.decodo.com, will not function!You can target specific locations instead by specifying the location in your username using advanced parameters:- e.g.:
user-username-country-uswill connect to the USA pool.
Proxy Rotation
Proxy Rotation
To get a sticky
SOCKS5 Residential or Mobile proxy in a tool, you must use a session parameter. Otherwise, the proxy will always rotate even with a set sessionduration parameter.- e.g.:
user-username-session-abc123-sessionduration-30will connect to the same session.- The session ID name can be defined by any string of your choice.
Learn more in our advanced parameter guides for Residential and Mobile proxies.
Direct IP
Direct IP Parameter Support
Direct IP Parameter Support
If you buy an IP list, you can specify which IPs to connect to using the direct
ip parameter in the proxy username: user-username-ip-x.x.x.x- Supported products: DC Pay/IP, Dedicated DC, ISP Pay/IP, Dedicated ISP plans.
- Products that offer access to the full proxy pool, such as residential proxies, do not support this parameter.
IP:PORT Format
IP:PORT Format
- Decodo proxies don’t support an
IP:PORTformat by default. - You must use the endpoint rotator format (e.g.,
us.decodo.com:10101). - If necessary, try the workaround here, but it only works temporarily before requiring another setup update.
Troubleshooting
If you experience any other issues, check out our main troubleshooting section.Support
Need help or just want to say hello? Our support is available 24/7.
You can also reach us anytime via email at support@decodo.com.
You can also reach us anytime via email at support@decodo.com.
Feedback
Can’t find what you’re looking for? Request an article!
Have feedback? Share your thoughts on how we can improve.
Have feedback? Share your thoughts on how we can improve.