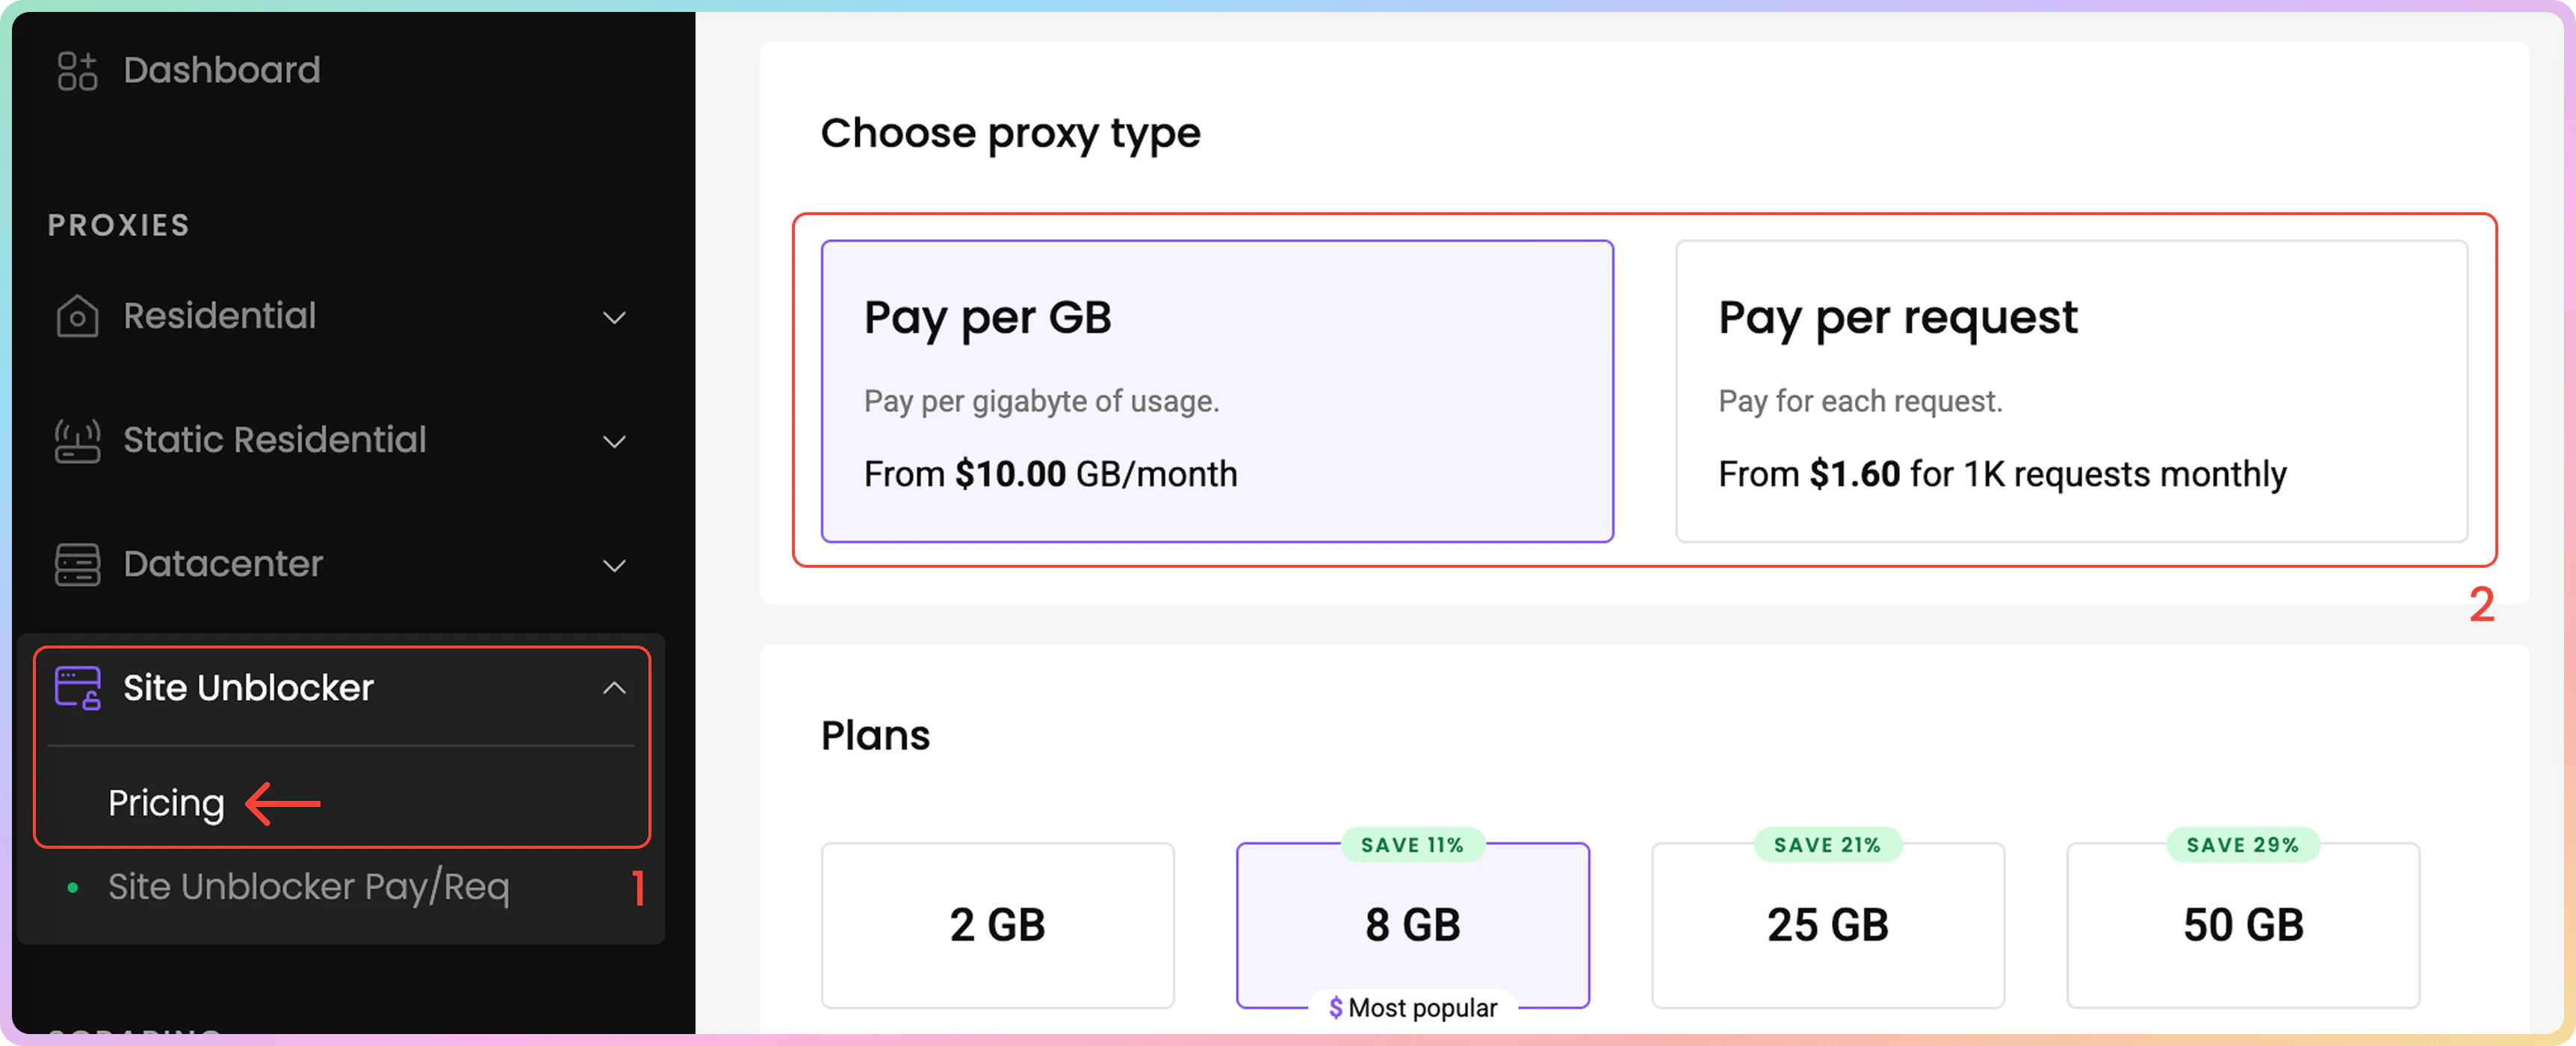
- The Site Unblocker solution uses the following endpoint for requests:
- Here are some examples:
In order to use Site Unblocker via
cURL: -k or the equivalent --insecure flag is required. Note that you can still target websites that use HTTPS.Authentication
Once you have an active Site Unblocker subscription, you will be able to view your automatically generated proxy Username and Password at the top of the API Playground tab.- You may copy your username or password by clicking on it
- To see the password click the eye icon.
- You can generate a new password by clicking on the arrow icon and choosing Confirm.
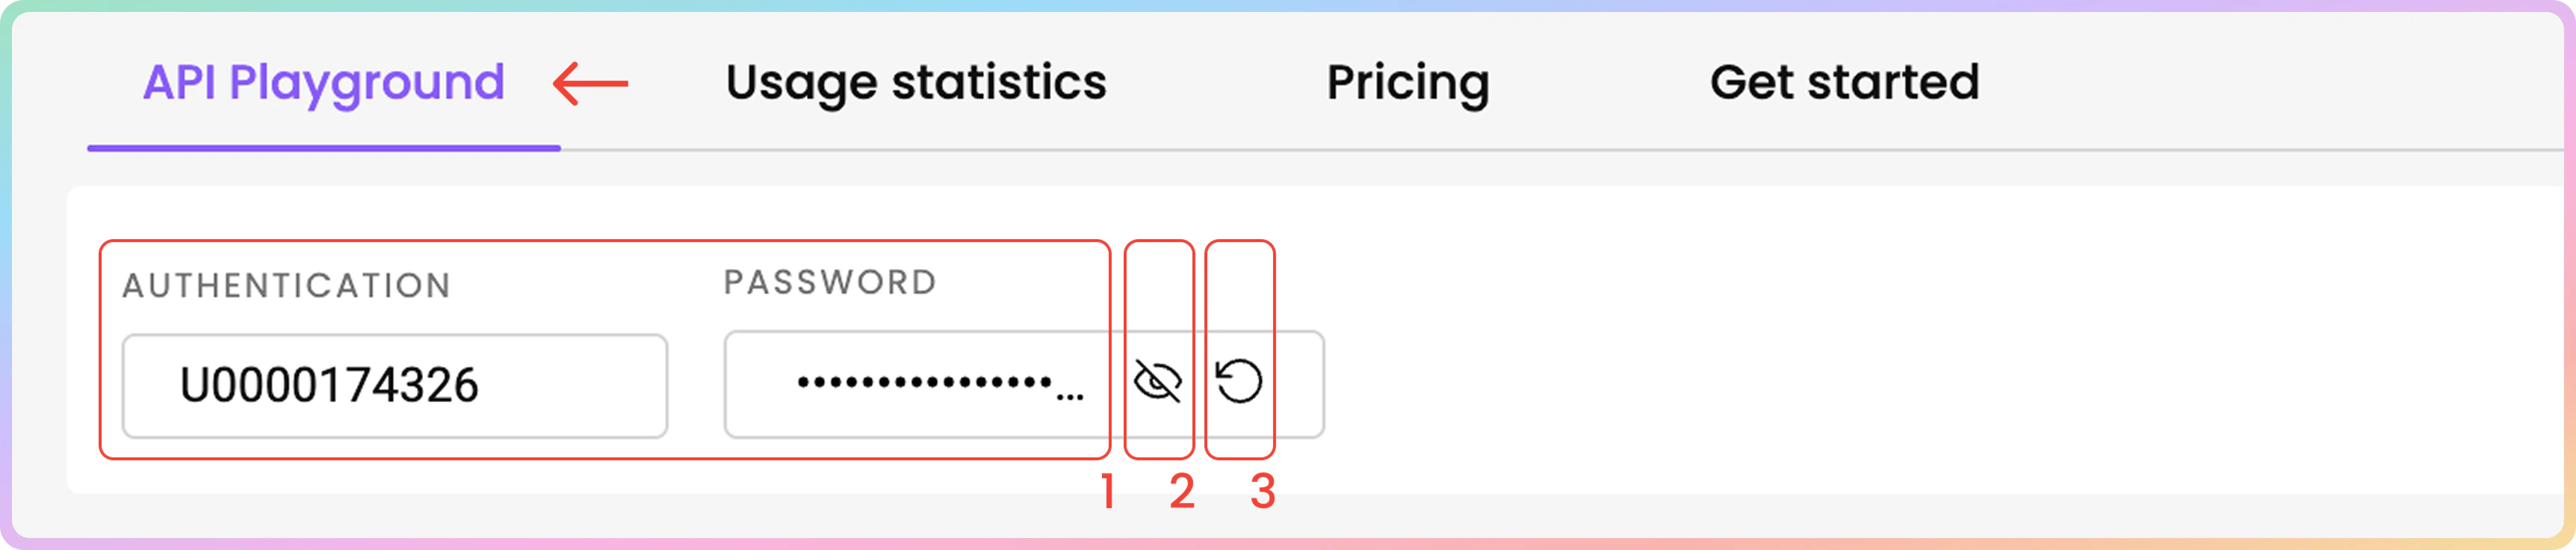
API Playground
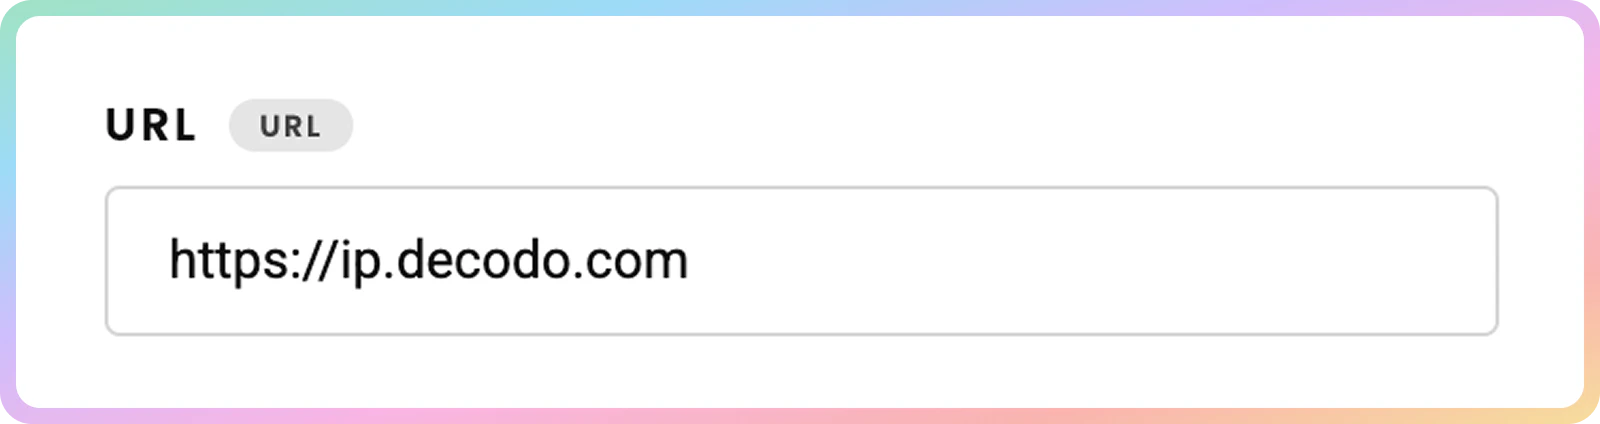
Here, you can try sending a request to your chosen target right from your dashboard:URL
- First, enter the URL of the site you wish to target.
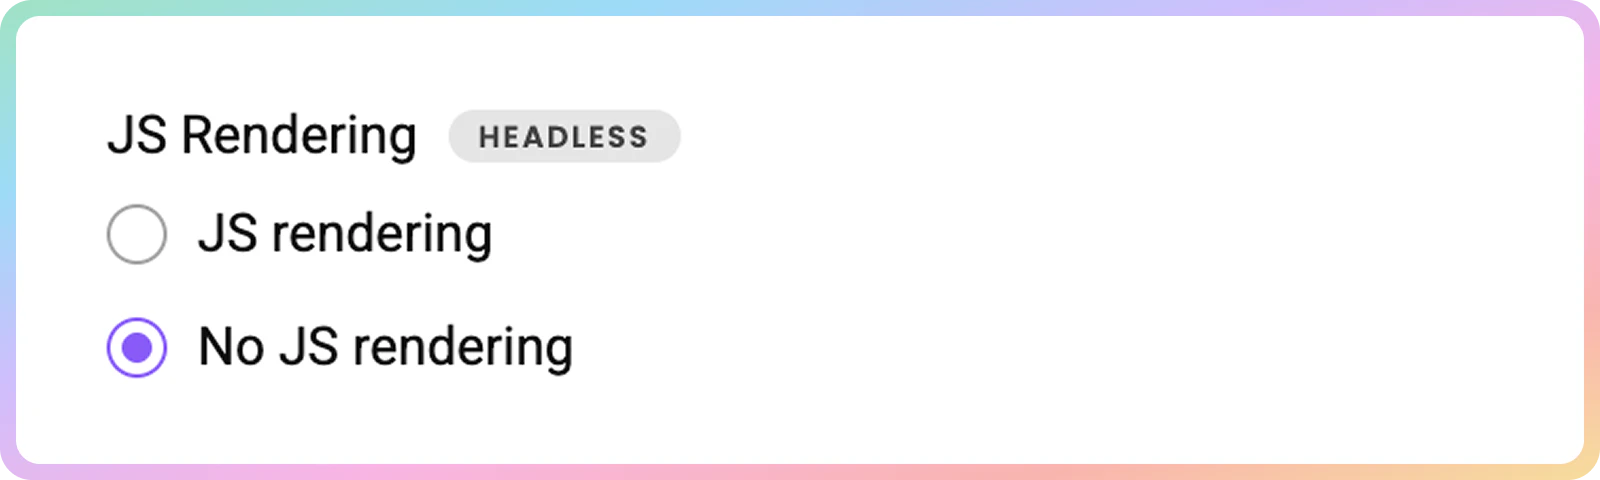
JavaScript Rendering
- Then, choose to enable or disable
JavaScriptrendering.
- Enabled JS rendering allows you to target dynamic pages without using a headless browser.
- Learn more here.
- You can send the request right away by clicking Send Request or specify the parameters further:
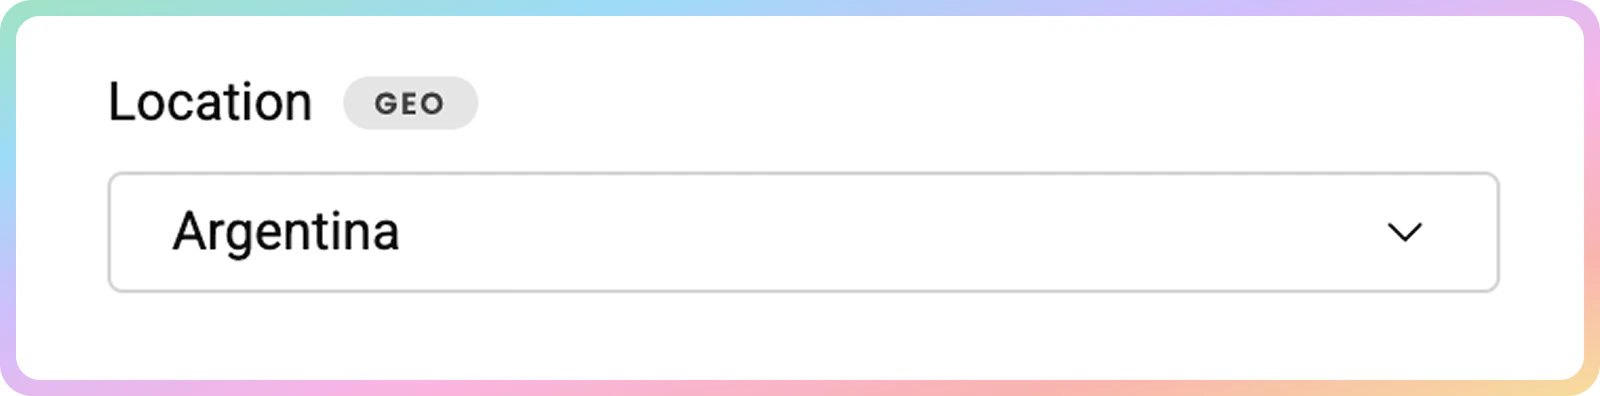
Location
- Choose the location from which you’d like to access the website.
- Depending on your desired location, Site Unblocker will add proxies from the Decodo IP pool.
- Learn more about
geoparameters here.
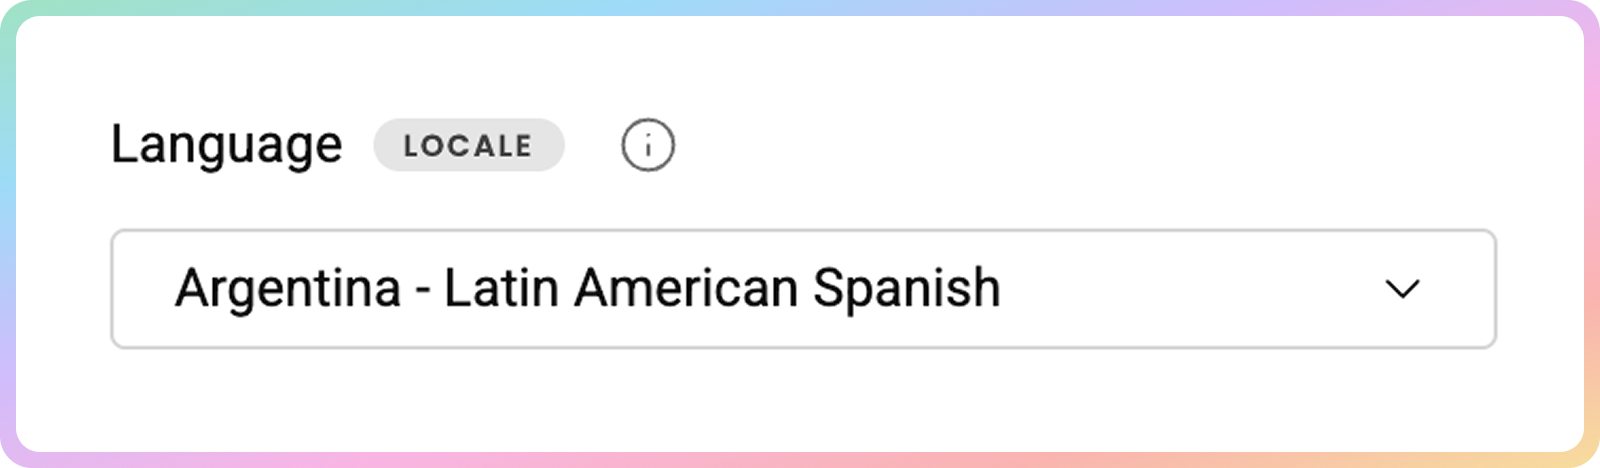
Language
- Specify the Locale.
- The
localeparameter allows you to simulate requests from a specific geographic location or language. - This changes the web page interface language, not the language of the results.
- Learn more here.
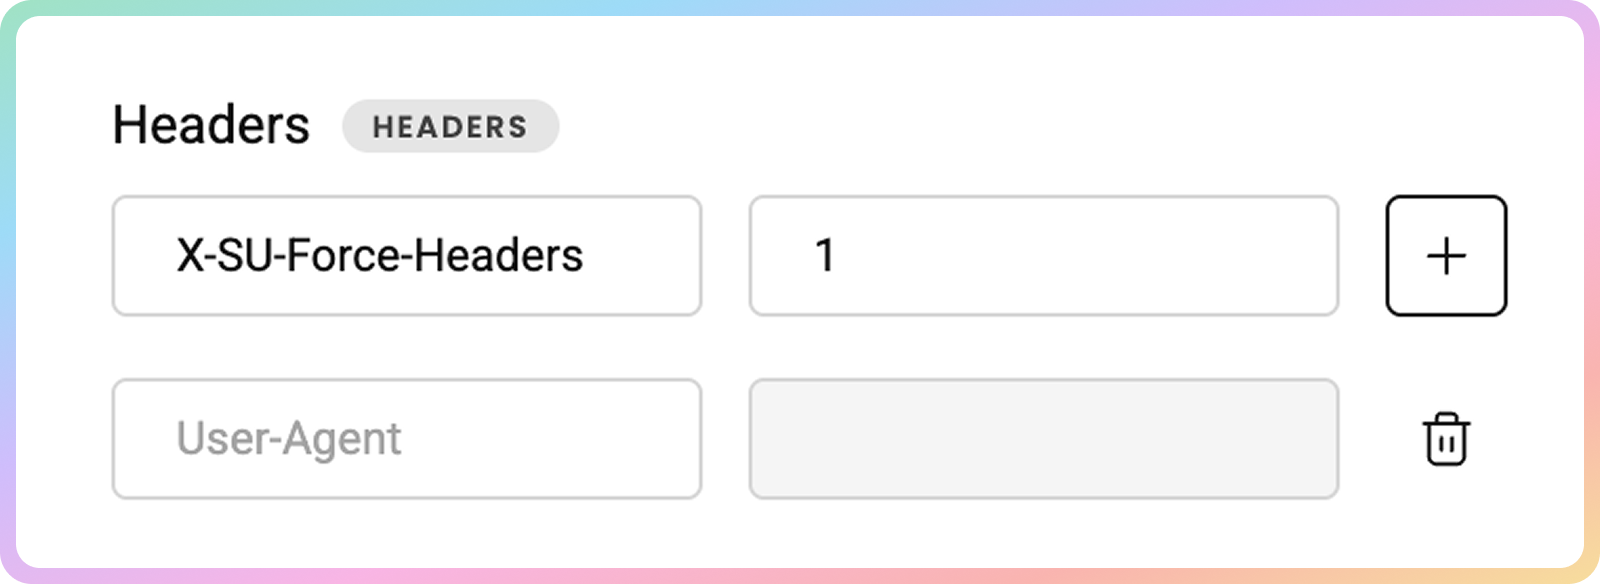
Headers
- Specify the header along with their values.
- Some headers are pre-set by default in order to increase the success rate. Enable the option below to force your own headers, however, note that the success rate may drop. Failed requests with forced headers are always charged, even if scraping fails.
- Learn more about headers here.
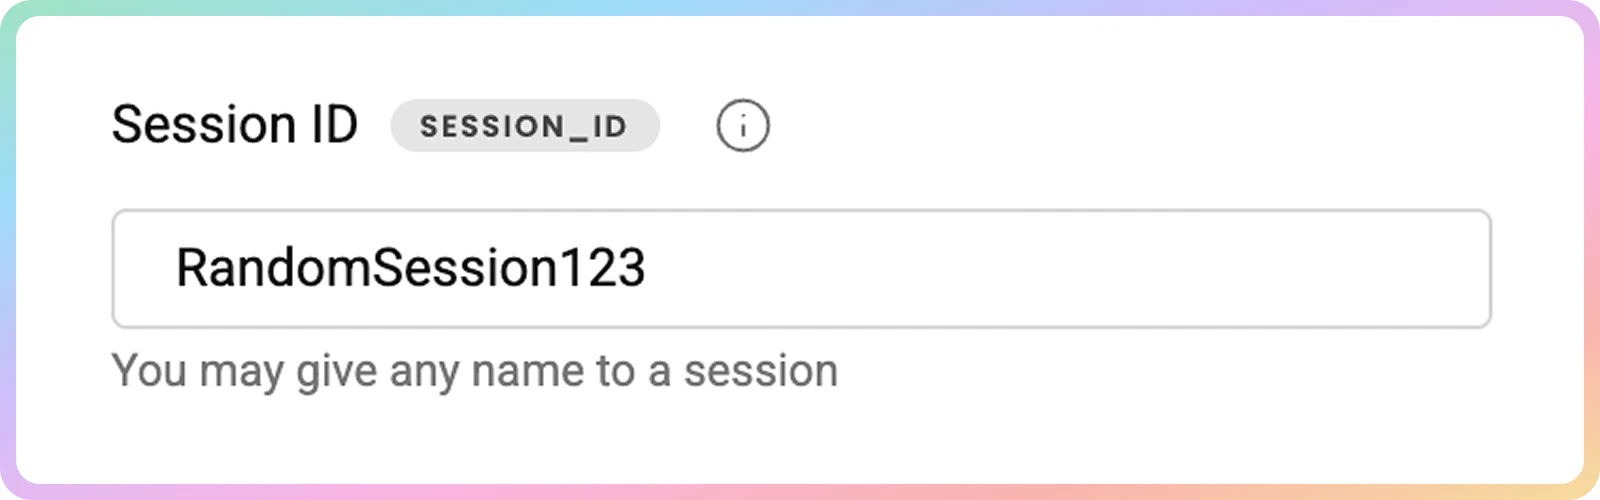
Session
- If you want to, name your session.
- The
session_idparameter allows you to use the same proxy connection for yo to 10 minutes for multiple requests. - Learn more here.
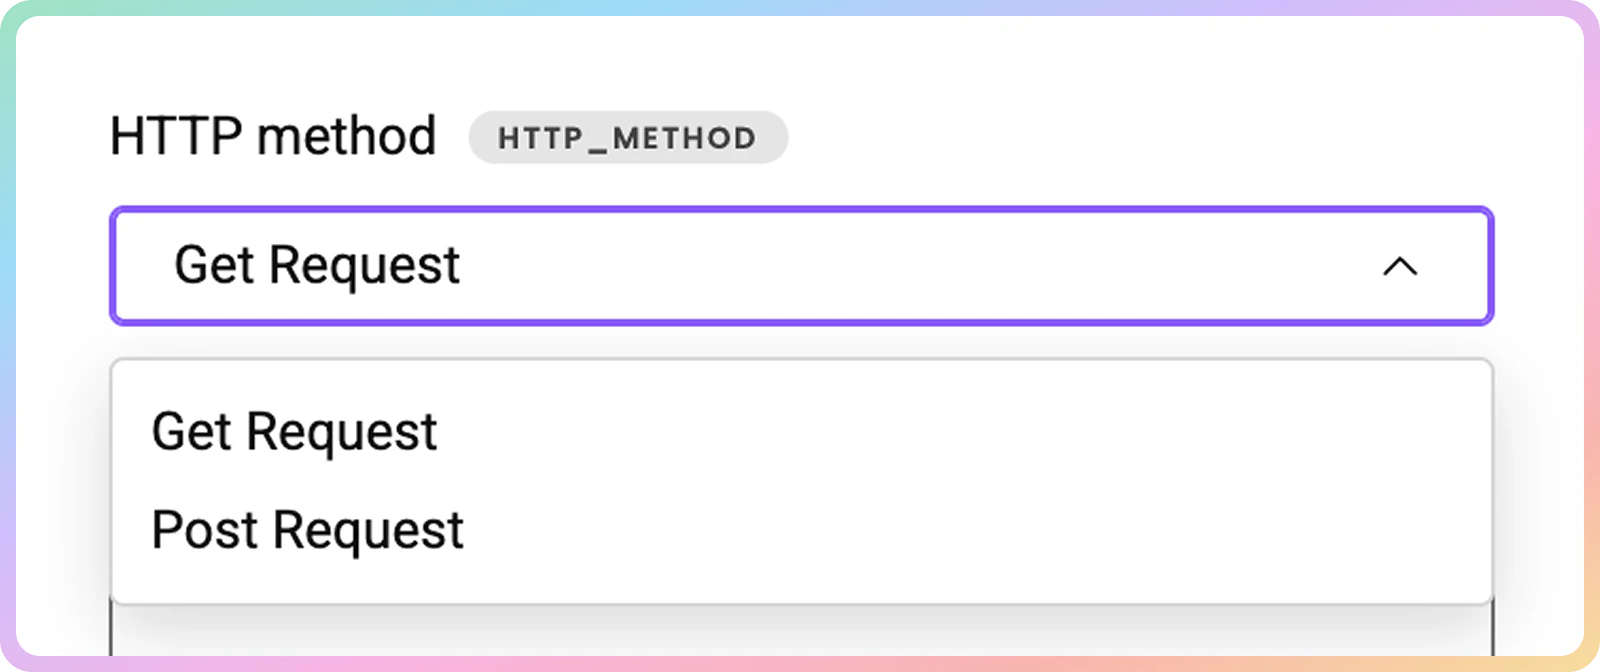
HTTP Method
- Then, you can choose the
HTTPmethod.GETis the default one; however, you can selectPOSTif you want to pass a payload with your request.
- Learn more about
POSTrequests here.
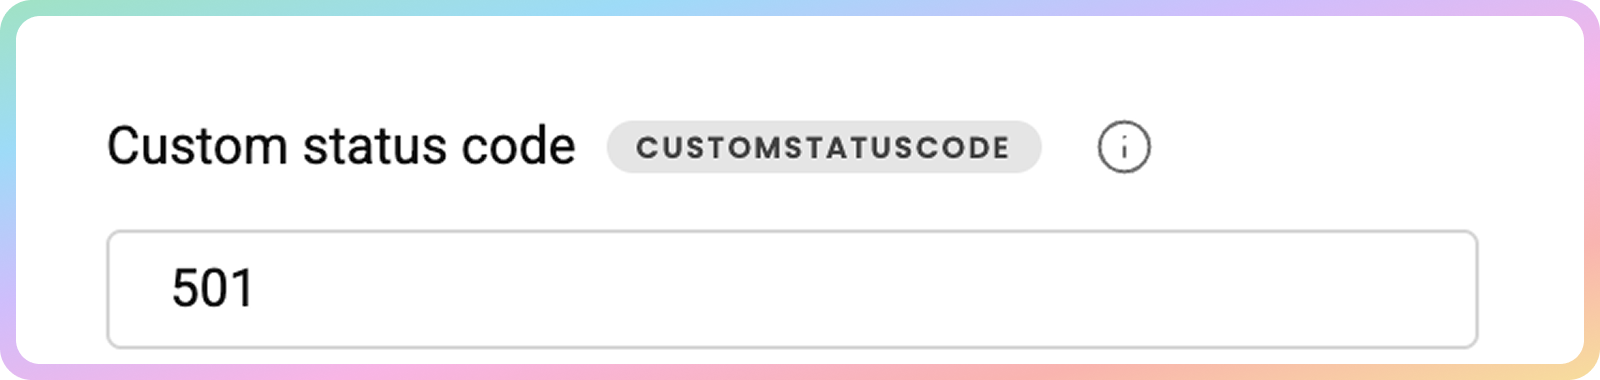
Custom Status Codes
- You can also specify custom status codes.
- Sometimes, websites return the required content together with a non-standard
HTTPSstatus code. - If one of your targets does that, you can indicate which status codes are acceptable and valuable to you:
501, 502,503and etc. - Learn more here.
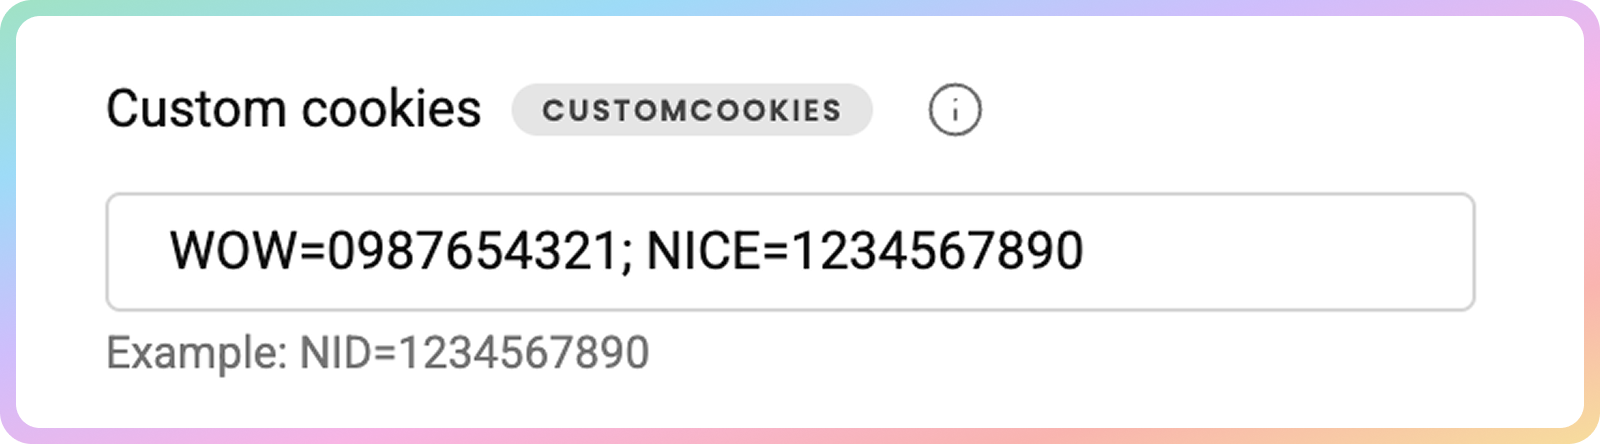
Custom Cookies
- Specify custom cookies.
- You can also force cookies. But note that when forcing headers or cookies, the request will always be charged to your subscription, even if the request fails.
- Learn more here.
Request Body
- Finally, specify the Request Body values.
POSTrequest body, example:{"key1": "value1", "key2": "value2"},{"key3: "value3"}.
Markdown
- Check the toggle to automatically parse
HTMLcontent intoMarkdown.
Markdownreduces token count compared to rawhtml.- Learn more here.
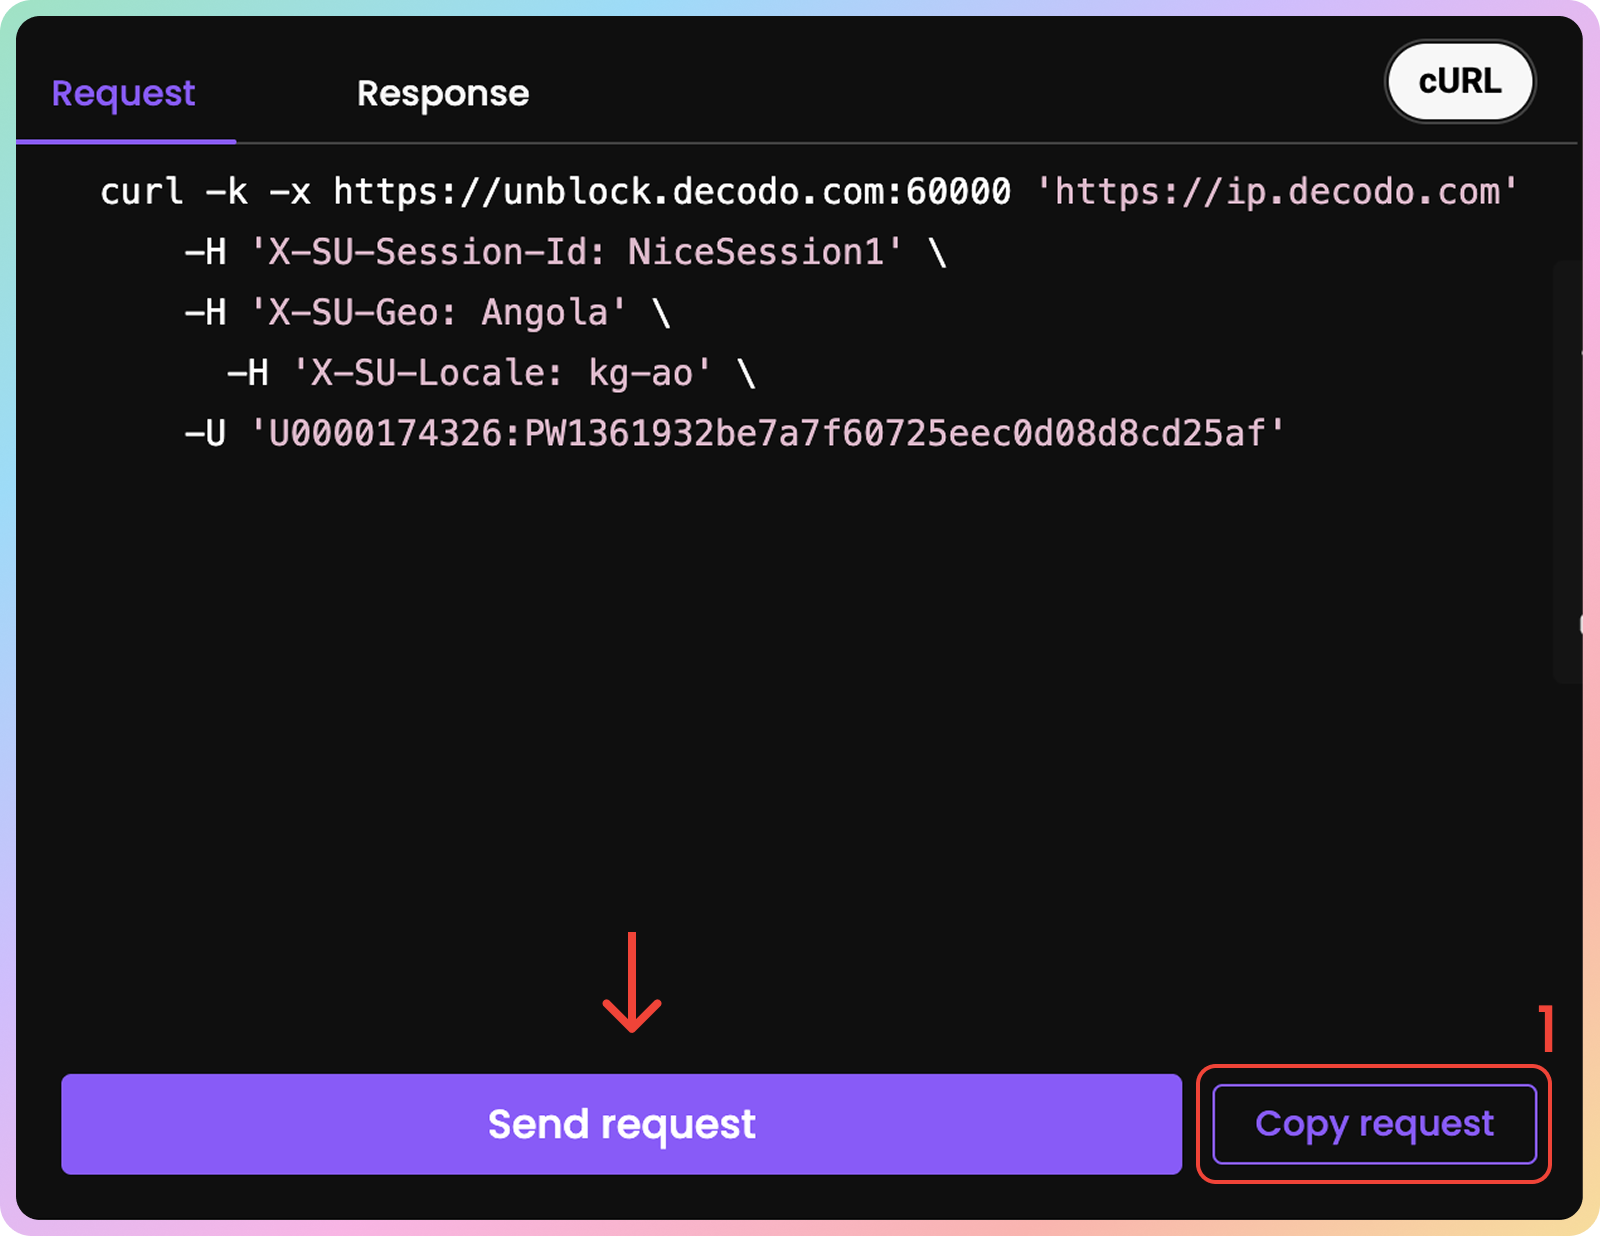
Sending a Request
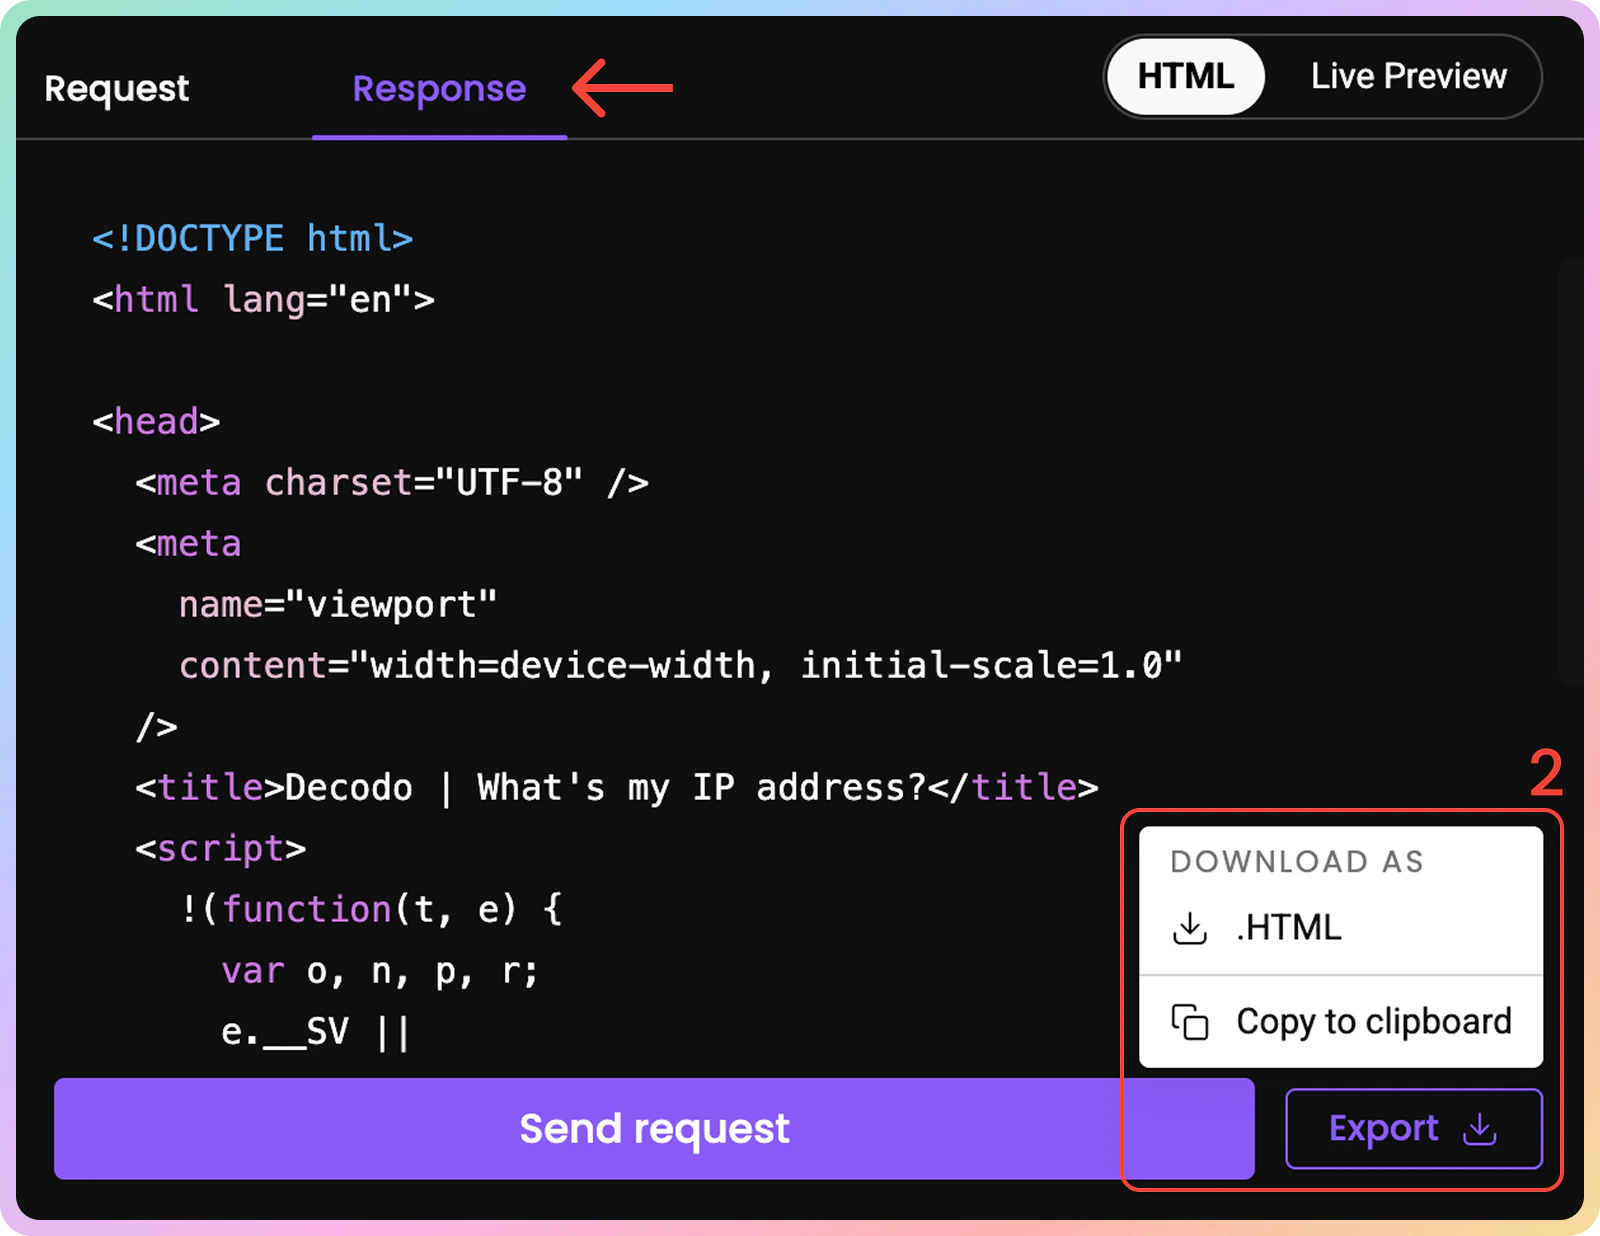
- Once you’re all set, press Send Request. After a few moments, you’ll see the returned response and live preview.
- If you select the Request tab, you may also copy the
cURLcommand by clicking Copy request. - You can copy the response or download it in
HTML.
Usage Statistics
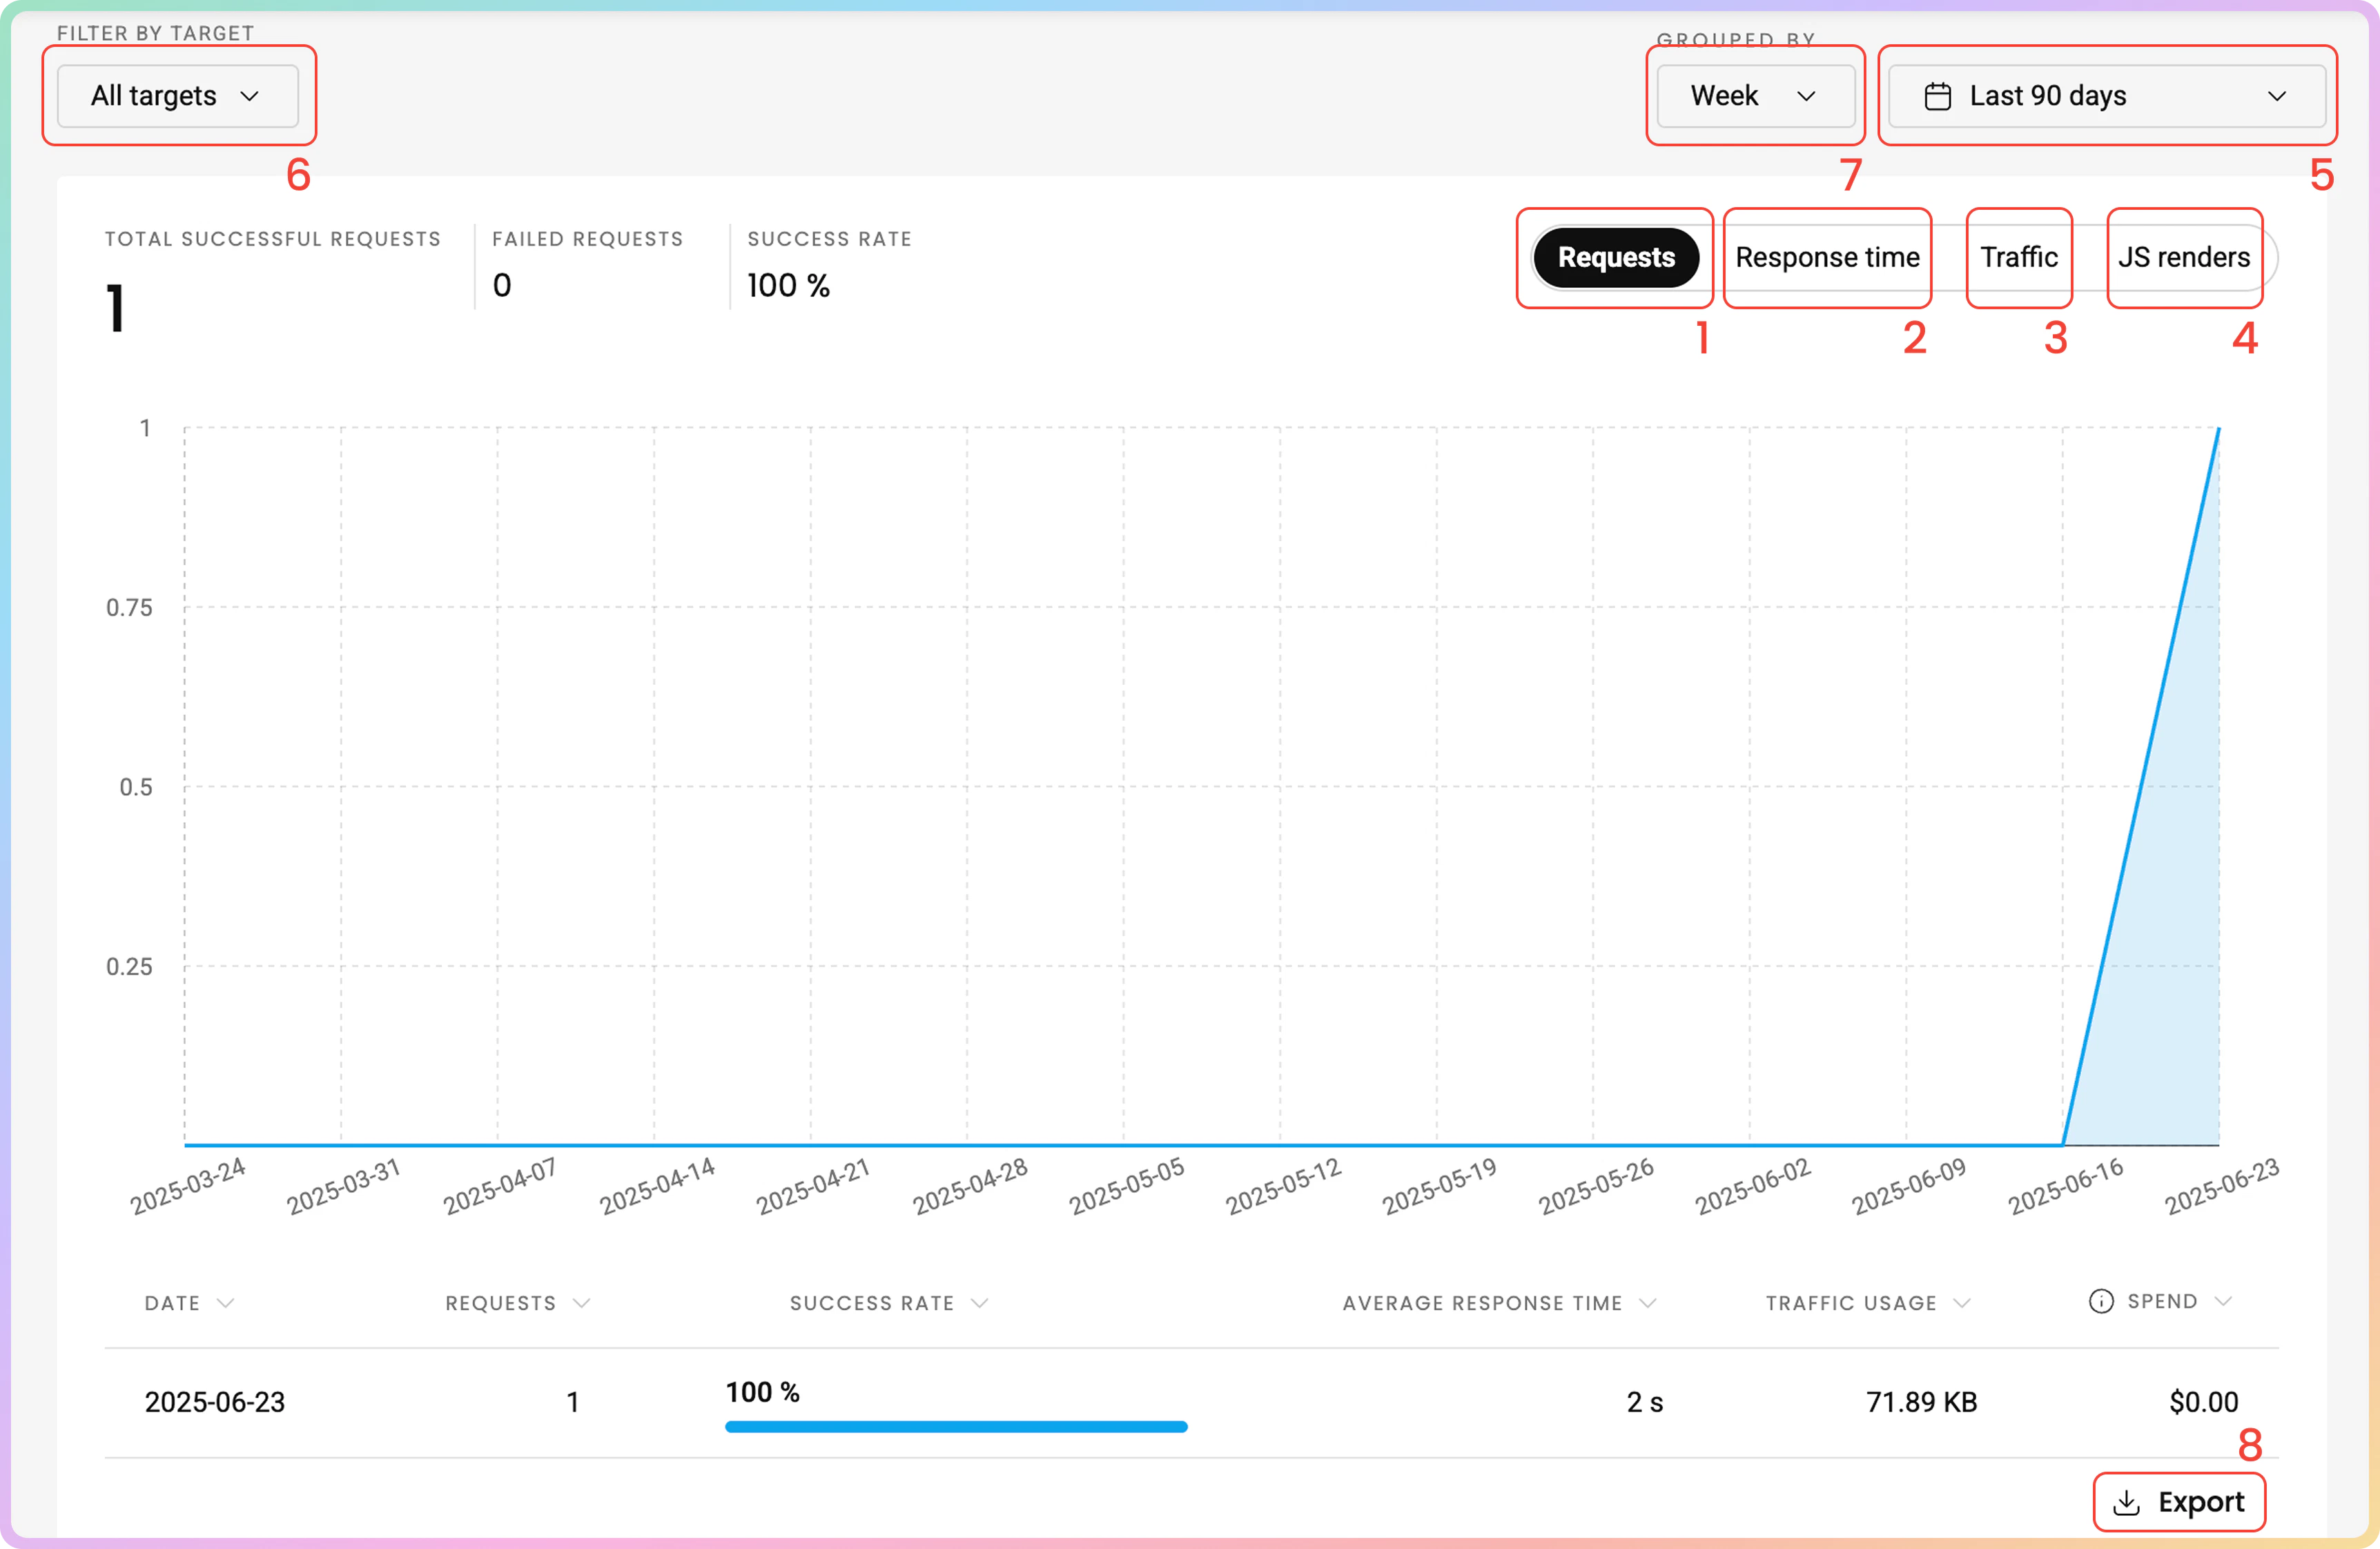
To track your traffic usage, go to the Usage Statistics tab.Graph
Here, you can see various statistics displayed in a graph:- The number of requests you’ve sent (total successful requests, failed requests, and success rate).
- The average response time.
- The traffic used
- The number of
JavaScriptrenders - Choose the time period.
- Filter by target.
- Group by hour, day, week, or month.
- Export the table data in
.CSV,.TXT, or.JSONformats.
Top Targets
At the bottom of the page, you can see more detailed information about each target:- The target.
- The number of requests.
- Traffic
- Success rate.
- Average response time
- Spend in
$(Amounts displayed are without VAT)

Troubleshooting
If you are having any issues, check out our troubleshooting section or reach out directly to our support team available 24/7.Support
Need help or just want to say hello? Our support is available 24/7.
You can also reach us anytime via email at support@decodo.com.
You can also reach us anytime via email at support@decodo.com.
Feedback
Can’t find what you’re looking for? Request an article!
Have feedback? Share your thoughts on how we can improve.
Have feedback? Share your thoughts on how we can improve.